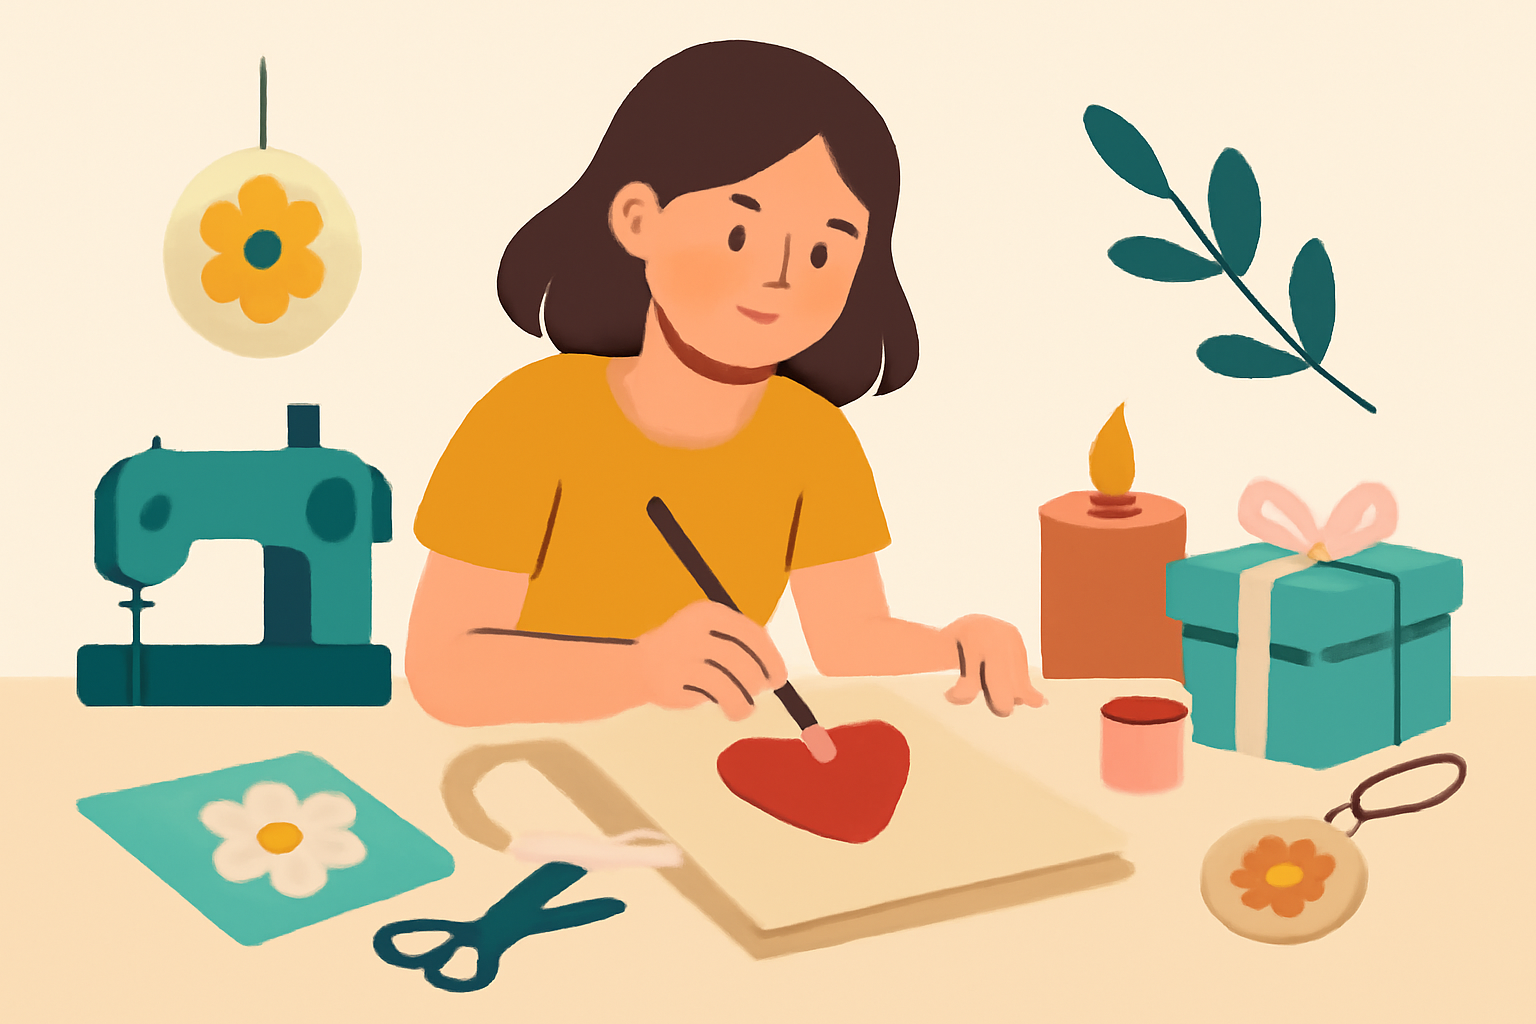
Looking to impress family and friends with unique gifts that scream "I put thought into this"? You're in the right place! Personalizing gifts at home can transform ordinary items into cherished keepsakes, making every occasion feel special. Whether it's a birthday, anniversary, or just because, your efforts will surely be appreciated. creative gift solutions.
This guide will walk you through the steps to create personalized gifts that are simple, heartfelt, and memorable. Get ready to unleash your inner DIY enthusiast and make something truly special!
Table of Contents
Step 1: Gather Your Supplies
Before you dive into the creative process, you'll need to collect your tools and materials. Here's a checklist to help you get started: The Ultimate Guide to Personalized Gifts.
- Basic crafting tools (scissors, glue, tape)
- Blank items to personalize (mugs, T-shirts, platters)
- Decorative materials (markers, paints, vinyl, stickers)
- Printing tools (if you're using digital designs)
Make sure to choose items that suit the recipient's taste. For instance, consider this custom serving platter for gatherings or this decorative platter celebrating family heritage as great options.
To ensure your project goes smoothly, here's a more detailed breakdown of each category of supplies you might need:
Basic Crafting Tools
These are your essential tools that will help you assemble and modify your personalized gifts. Here's a more specific list:
- Scissors: A good pair of scissors is crucial for cutting paper, fabric, or other materials. Consider having both regular and decorative scissors for varied cuts.
- Glue: Use craft glue for paper projects and hot glue for heavier materials. A glue gun can be particularly handy for quick bonding.
- Tape: Double-sided tape is excellent for a clean finish, while washi tape can add a decorative touch.
- Ruler and Pencil: For precise measurements and markings, especially when creating designs or layouts.
Blank Items to Personalize
Choosing the right blank items is crucial for making gifts that resonate with the recipient. Here are some ideas:
- Mugs: Ceramic mugs are perfect for personalization. You can paint them, use vinyl, or even print custom designs.
- T-shirts: Look for plain cotton or polyester shirts. Fabric paint or iron-on transfers work great for custom designs.
- Platter or Serving Dishes: Choose materials like ceramic or glass, which can be painted or etched for a unique touch.
- Photo Frames: A plain frame can be transformed into a beautiful personalized gift with paints, stickers, or embellishments.
Decorative Materials
These materials will add flair and personality to your gifts. Consider the following:
- Markers and Paints: Choose permanent markers or fabric paints that will withstand washing or wear. Test them on a small area first!
- Vinyl: If you have a cutting machine, vinyl can create stunning designs. Choose colors that match the recipient's style.
- Stickers and Embellishments: These can add a fun element to your gifts. Look for themed stickers that relate to the occasion or the recipient's interests.
Printing Tools
If you're opting for digital designs, you'll need some additional tools:
- Printer: A good quality inkjet or laser printer will ensure your designs come out crisp and vibrant.
- Transfer Paper: This is essential for printing designs that will be transferred to fabric or other surfaces.
- Design Software: Familiarize yourself with software like Canva or Adobe Illustrator to create your custom designs. Many online platforms also offer templates tailored for personalized gifts.
Common Mistakes to Avoid
As you gather your supplies, watch out for these common pitfalls:
- Overloading on Supplies: It's easy to get carried away. Stick to what you need to avoid clutter and confusion.
- Ignoring Quality: Cheap materials might save money but can lead to disappointing results. Invest in quality items for a polished finish.
- Forgetting to Test: Always test your materials on a small area before committing to the entire project, especially with paints and adhesives.
With your supplies gathered and a clear plan in mind, you're ready to move on to the next steps of creating your personalized gifts. Remember, the key is to infuse your personality and the recipient's preferences into every creation. Happy crafting!
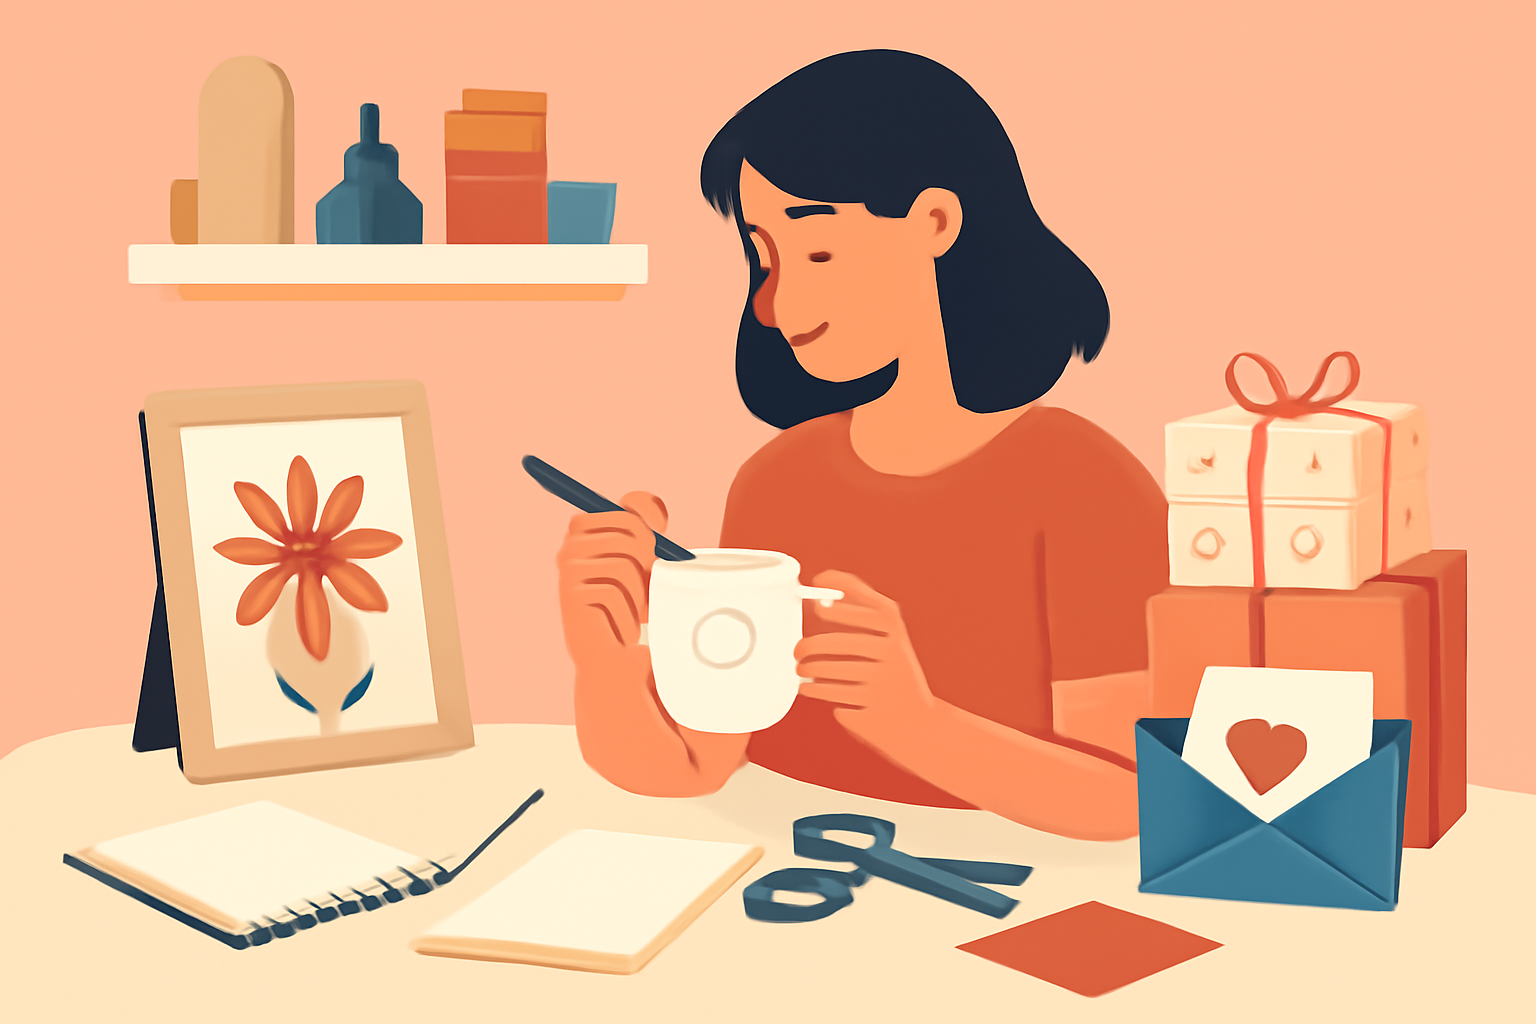
Step 2: Choose Your Design
Now that you have your supplies, it's time to brainstorm design ideas. Consider the following:
Personal Touches
Think about the recipient's interests, hobbies, or favorite colors. Incorporating their favorite quote or a significant date can add a special touch. Here are some tips to help you brainstorm:
- Interests and Hobbies: If the recipient loves gardening, consider floral patterns or plant motifs. For a sports enthusiast, you might incorporate their favorite team's colors or logo.
- Favorite Colors: Use their favorite colors as the primary palette for your design. This can be done through the choice of materials, paints, or fabrics.
- Significant Quotes: Think of a quote that resonates with the recipient. It could be a motivational phrase or a line from their favorite book or song. Make sure it's something that will evoke positive feelings.
- Important Dates: Consider adding meaningful dates, such as birthdays, anniversaries, or milestones. This can be done through engraving, printing, or even hand lettering.
To visualize your ideas, create a mood board. Gather images, color swatches, and text that inspire you. This can help clarify your vision and ensure all elements work well together.
Design Tools
If you're not the best at drawing, no worries! There are plenty of online tools and templates to help you. Programs like Canva or Adobe Spark offer user-friendly interfaces to create personalized designs. Here's a closer look at how to make the most of these tools:
- Canva: This platform has a plethora of templates specifically for gifts. You can customize text, colors, and images to match your theme. Use the drag-and-drop feature to easily position elements on your design.
- Adobe Spark: Similar to Canva, Adobe Spark allows you to create stunning visuals with minimal effort. You can choose from various layouts and styles, and even add animations if you're feeling adventurous.
- Design Resources: Websites like Creative Market or Etsy offer downloadable design elements like graphics, fonts, and templates that you can incorporate into your projects. This can save you time and enhance your design quality.
As you use these tools, keep in mind the following common mistakes to avoid:
- Overcrowding Your Design: Less is often more. Avoid cramming too many elements into your design, which can make it look cluttered and overwhelming.
- Ignoring Readability: If you're using text, ensure it's legible. Choose fonts that are easy to read and contrast well with the background.
- Neglecting the Color Scheme: Stick to a cohesive color palette. Too many contrasting colors can distract from the main message or theme.
- Forgetting About Size: Consider the size of the item you're personalizing. Make sure your design fits well and looks proportionate to the gift.
Once you've created a draft of your design, consider getting feedback from friends or family. They can provide valuable insights and help you refine your ideas before you finalize your creation. Remember, the goal is to create something that resonates with the recipient and reflects their personality.
Step 3: Create Your Gift
With your design ready, it's time to bring it to life! Follow these methods based on the type of gift you've chosen:
For Hand-Painted Gifts
Using acrylic paints, you can add designs directly onto items like mugs or platters. Make sure to use food-safe paint if it's for kitchenware.
For Vinyl Transfers
If you're using a cutting machine, create your design in the software, cut it out on vinyl, and apply it to your item. This method works great for T-shirts, bags, and home decor.
For Printed Gifts
Print your design on transfer paper, then use an iron to transfer it onto your gift. This works well for fabric items or wood surfaces. For example, a special platter showcasing family names could be a perfect printed gift.
Step 4: Add the Finishing Touches
Once your gift is assembled, it's time to make it look presentable:
Wrapping
Use decorative paper, ribbons, or gift bags that match your theme. A well-wrapped gift adds to the excitement of unboxing. Here are some practical tips to elevate your wrapping game:
- Choose the Right Paper: Select wrapping paper that complements the occasion. For birthdays, opt for vibrant colors and fun patterns. For weddings, consider elegant designs with metallic accents.
- Layering: Don't shy away from layering different types of wrapping materials. You could use a solid color base and add a patterned overlay or tissue paper for a chic effect.
- Ribbons and Bows: A simple ribbon can transform your gift. Try different styles-like a classic bow, a twisted ribbon, or even a natural jute string for a rustic look. Experiment with colors that either match or contrast beautifully with your wrapping paper.
- Gift Bags: If you're not a fan of wrapping, gift bags can be a fantastic alternative. Choose a bag that fits the size of your gift snugly, and fill it with crumpled tissue paper for a stylish finish.
- Finishing Touches: Consider adding small embellishments like dried flowers, pinecones, or even a sprig of holly for a seasonal touch. These little details can make your gift stand out.
Personal Note
Include a heartfelt card or note explaining the significance of the gift. This adds an emotional layer that recipients will treasure. Here are some tips to craft the perfect note:
- Be Sincere: Write from the heart. Share why you chose this particular gift and what it means to you. A personal touch can turn a simple gift into a cherished memory.
- Include a Memory: Mention a shared experience or a fond memory related to the gift. This creates a deeper connection and shows the recipient that you've put thought into their gift.
- Use Humor: If appropriate, inject a bit of humor into your note. A funny inside joke can make the note feel more personal and relatable.
- Presentation: Consider how you present the note. Handwriting it on a beautiful card adds a personal touch. You can also fold it creatively or attach it to the gift with a decorative clip or string.
- Quotes and Poems: If you're stuck, consider including a meaningful quote or a short poem that resonates with the occasion or your relationship with the recipient.
By taking the time to wrap your gift beautifully and include a personal note, you not only enhance the presentation but also make the experience more memorable for the recipient. These finishing touches show that you care and have put thought into their gift, making it truly personalized.
Step 5: Common Mistakes to Avoid
Even the best DIYers make mistakes! Here are a few common pitfalls to watch out for:
- Not planning your design ahead of time.
- Using the wrong materials for the item (like non-food-safe paint).
- Rushing through the process-take your time to ensure quality.
- Forgetting to test your design on a scrap piece before the final application.
1. Failing to Plan Your Design
Jumping into a project without a clear plan is like trying to bake a cake without a recipe. You might end up with something edible, but it probably won't be pretty. Spend some time sketching out your ideas, considering color schemes, and deciding on the layout. Use design software or even just pencil and paper to visualize your gift. This step can save you a ton of headaches down the road.
2. Choosing Inappropriate Materials
Using the wrong materials can ruin your project before it even starts. For example, if you're creating a personalized mug, make sure you use ceramic paint that is food-safe and won't wash off in the dishwasher. Always check the labels and do a little research on the materials you plan to use. Here's a quick checklist:
- For fabric items: Use fabric paint or markers that are washable.
- For wood projects: Choose non-toxic finishes that are safe for indoor use.
- For glassware: Ensure your paint is oven-safe if you plan to bake it to set the design.
3. Rushing the Process
It's easy to get excited and want to finish your project quickly, but rushing can lead to mistakes that ruin your hard work. Take your time and focus on each step. Here are some tips to help you avoid the urge to speed through:
- Set a timeline for your project that allows for breaks and reflection.
- Don't skip drying times. Let paint, glue, or finishes cure properly before moving on.
- Take breaks to step back and evaluate your work. Sometimes a fresh perspective can catch mistakes you might have missed.
4. Skipping the Test Run
Testing your design on a scrap piece is a crucial step that many people overlook. It's like a dress rehearsal before the big show! Here's why you should never skip this step:
- It allows you to see how colors look together and if they match your vision.
- You can practice your technique to avoid making mistakes on the final product.
- Testing can help you identify any potential issues with the materials or tools you're using.
Make it a habit to always test your designs first. Grab some extra materials and run through your process. It might take a little extra time, but it will save you from the disappointment of a botched final product.
5. Ignoring Feedback
Once you've created your personalized gift, don't hesitate to get feedback from trusted friends or family. They can offer insights that you might have missed. Here's how to effectively gather feedback:
- Ask specific questions about the design, usability, and overall impression.
- Be open to constructive criticism. Remember, the goal is to improve your skills!
- Consider their suggestions seriously, especially if you plan to make more personalized gifts in the future.
By being aware of these common mistakes and taking steps to avoid them, you'll be well on your way to creating beautiful, personalized gifts that your loved ones will cherish. Happy crafting!
Step 6: Ideas for Personalized Gifts
If you're still looking for inspiration, here are a few ideas to get your creative juices flowing:
- Personalized mugs with funny quotes or images. Consider using inside jokes or memorable moments to make them even more special. You can use an online design tool to create a mock-up before you finalize your order.
- Custom family photo albums. Gather your favorite family pictures from various events and organize them chronologically or thematically. Use online services that allow you to add captions, dates, and even little anecdotes to each photo to enhance the storytelling aspect.
- Engraved wooden keychains. Choose a meaningful shape, like a heart or a house, and engrave names, dates, or a short phrase. It's a small but thoughtful gift that can be carried everywhere. Make sure to select a durable wood type to ensure longevity.
- This personalized home decor for celebrations that captures special moments. Think about creating custom wall art with family names or significant dates. You can also design throw pillows with family photos or quotes that resonate with your loved ones. Don't forget to choose colors that match their home decor for a seamless integration.
- Your unique family keepsake platter as a centerpiece for family gatherings. This can be customized with family names, a special date, or a meaningful quote. Use it to serve food during gatherings or display it as a piece of art. Ensure it's dishwasher safe if it's going to be used for serving.
Additional Ideas for Personalized Gifts
- Custom Recipe Books: Compile cherished family recipes, add personal notes, and create a book that can be passed down through generations. Use a mix of handwritten notes and printed pages to give it a personal touch.
- Personalized Calendars: Create a calendar featuring family photos for each month. Include important family dates, such as birthdays and anniversaries, to make it even more special.
- Customized T-Shirts: Design T-shirts with family slogans, inside jokes, or memorable quotes. Organize a family photo shoot and use those images to create matching shirts for a fun family outing.
- Engraved Jewelry: Consider bracelets or necklaces that can be engraved with initials, names, or significant dates. This is a great way to keep loved ones close, even when they are far away.
- Memory Jars: Create a jar filled with notes of memories, quotes, or reasons why you love the recipient. This can be a continuous gift that they can add to over time, fostering a deeper connection.
Common Mistakes to Avoid
- Ignoring the Recipient's Taste: Always consider the recipient's style and preferences. A personalized gift should reflect their personality, not just your own ideas.
- Overcomplicating the Design: While it can be tempting to add too many elements, simplicity often has a stronger impact. Choose a clean design that highlights the personalization.
- Neglecting Quality: Ensure that the materials you choose are of high quality. A personalized gift can lose its charm if it degrades quickly.
- Waiting Until the Last Minute: Personalized gifts often require time for production and shipping. Plan ahead to avoid any last-minute stress.
- Forgetting to Proofread: If your gift includes text, double-check for typos or errors. A misspelled name can turn a thoughtful gift into an embarrassing one!
With these ideas and tips, you're well on your way to creating personalized gifts that will leave a lasting impression. Remember, the best gifts come from the heart, so let your creativity shine!
Conclusion: Your Next Step
Now that you're equipped with the knowledge to create personalized gifts at home, it's time to put your skills to the test! Gather your supplies, choose a design, and start crafting. Remember, the effort you put into these thoughtful gift selections will be what makes your gifts truly unforgettable.
Before you dive in, consider creating a checklist to streamline your process. This will help you stay organized and ensure you don't forget any crucial elements. Here's a simple checklist to get you started:
- Choose the occasion for the gift (birthday, anniversary, holiday, etc.)
- Decide on the type of personalized gift (photo book, custom mug, engraved jewelry, etc.)
- Gather necessary materials (craft supplies, photos, tools, etc.)
- Plan your design (sketch ideas, choose colors, select fonts)
- Set aside dedicated crafting time (make sure you won't be interrupted!)
- Prepare your workspace (clear a table, lay out materials, gather inspiration)
As you embark on your crafting journey, keep in mind some common mistakes to avoid:
- Rushing the process: Take your time to ensure quality. A rushed gift can look sloppy.
- Neglecting personalization: Remember that it's the personal touch that makes a gift special. Don't skip this step!
- Not testing materials: If you're using new materials or techniques, do a test run first to avoid disasters.
- Forgetting about presentation: A beautifully wrapped gift adds to the overall experience. Don't skimp on the wrapping!
Once you've created your masterpiece, consider how you'll present it. A personalized gift deserves a thoughtful presentation. Here are some ideas:
- Use decorative wrapping paper or fabric that complements the gift.
- Add a handwritten note expressing your thoughts and feelings.
- Consider including a small related item that enhances the gift (like a photo frame with a personalized photo).
Finally, don't forget to take a moment to appreciate your handiwork. Snap a picture of your creation before it leaves your hands; you'll want to remember the joy you put into crafting it! And who knows, it might inspire you to create even more personalized gifts in the future.
So, roll up your sleeves, unleash your creativity, and let the world see what you can do! Your friends and family will be amazed by the unique gifts you've crafted with love and attention.